
Finding and Defending JTAG and SWD Debug Ports
JTAG and SWD are the debug interfaces every microcontroller ships with so engineers can program and step through it. Left enabled in production, they are a direct line into the silicon: halt the core, read the flash, walk away with the firmware. Here is how I find these ports, what they expose, and how to shut them before a product ships.
JTAG and SWD in One Paragraph
JTAG is the older, wider debug standard; SWD is the two-wire version ARM uses on most modern parts. Functionally they do the same thing for an attacker: they give direct control of the processor, underneath the operating system and outside anything the firmware can police. If the interface answers, the chip is an open book unless readout protection was deliberately turned on.
Step 1: Find the Candidate Pads
Debug pins show up as a small cluster of test points or a header near the main processor, often unlabeled. Four signals matter for SWD: clock, data, ground, and reference voltage. JTAG adds a few more. The pads are frequently the only vias not connected to obvious power or ground planes.
Step 2: Identify the Pinout
When the pins are unlabeled, a tool like the JTAGulator brute-forces the mapping by driving each candidate and watching for a valid response. Within minutes you usually have the clock and data lines identified and the bus voltage confirmed, which is everything you need to wire in a real probe.
Step 3: Attach and Connect
With the pinout known, wire in a debug probe and bring up OpenOCD. It needs a config for your probe and a config for the target chip:
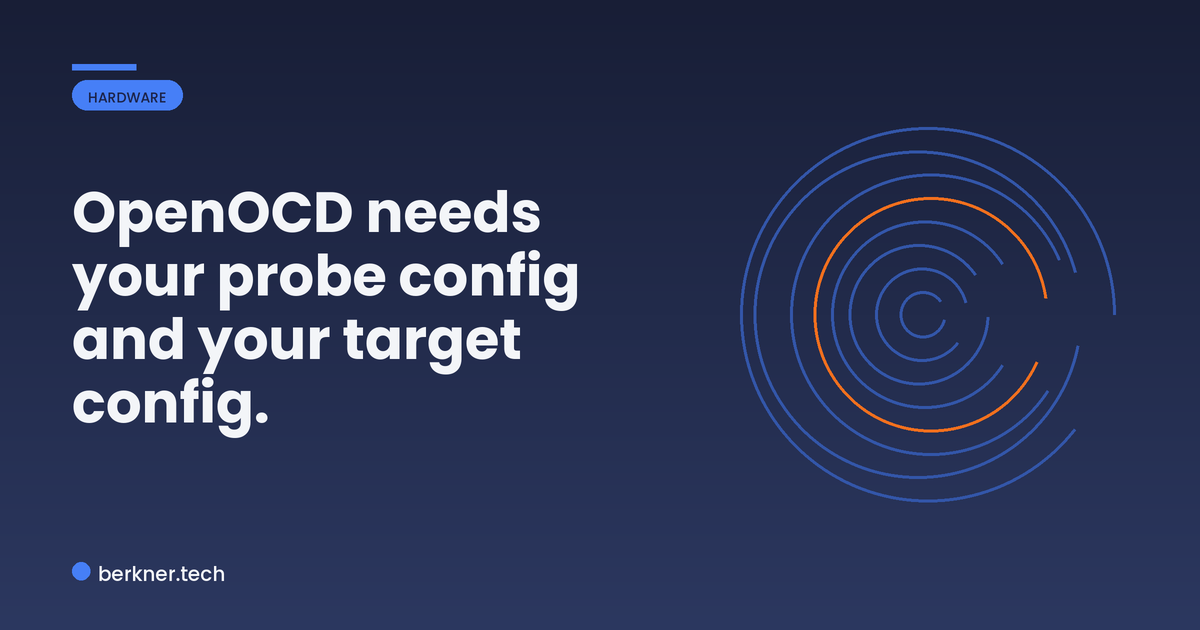
openocd -f interface/jlink.cfg -f target/stm32f1x.cfg
Open On-Chip Debugger 0.11.0
Info : J-Link V11 compiled Apr 19 2021
Info : clock speed 1000 kHz
Info : SWD DPIDR 0x2ba01477
Info : stm32f1x.cpu: hardware has 6 breakpoints, 4 watchpoints
Info : Listening on port 3333 for gdb connections
Info : Listening on port 4444 for telnet connections
A valid DPIDR means the debug port answered. The interface is live, and readout protection is not blocking us.
What a Debug Port Gives You
Once you are attached, the capabilities are exactly the ones the silicon designers built for development, now in the wrong hands:

Step 4: Halt and Dump the Flash
Connect to the OpenOCD console, halt the core, and read internal flash straight out to a file:
telnet localhost 4444
> halt
> dump_image firmware.bin 0x08000000 0x20000
target halted due to debug-request, current mode: Thread
xPSR: 0x01000000 pc: 0x08000540 msp: 0x20005000
dumped 131072 bytes in 3.51s (36.5 KiB/s)
That file is the complete firmware, ready for the analysis steps you would otherwise have to work much harder to reach. On a protected part this command fails outright, which is exactly the outcome you want.
Defending the Debug Port
The defense is to enable the part’s readout protection before shipping, often a single option-byte or fuse setting such as RDP Level 2 on STM32 or the debug-disable fuse on other families. Confirm it on production units, not just in the datasheet, because a debug port you assumed was closed is one of the most common gaps a penetration test uncovers.
Where This Fits
Debug-interface assessment is core to a hardware penetration test: locating the port, proving whether it answers, and confirming readout protection actually holds on shipping hardware. That validation is the kind of work we do at Berkner Tech.